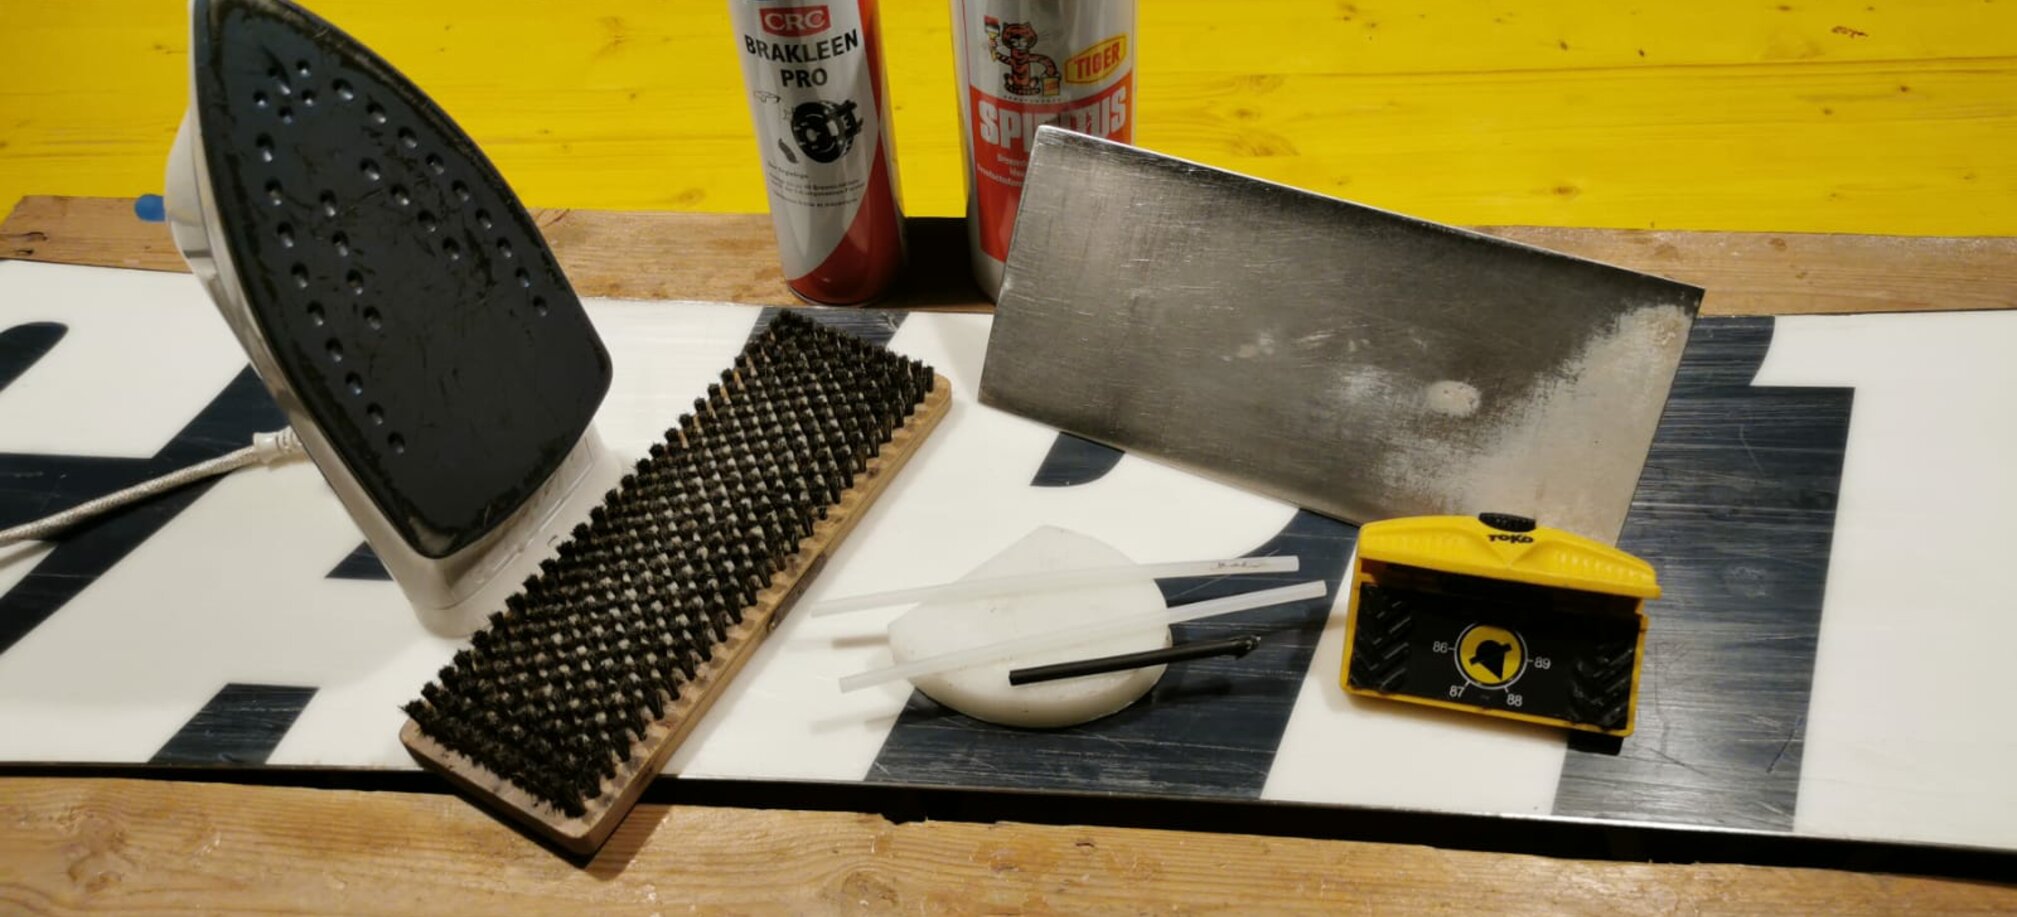
Before you start, you need a flat surface on which the snowboard cannot move. To avoid having to unscrew my bindings, I got an old pallet to keep the board in the air. Next you need to clean your board. A simple kitchen roll with acetone or brake cleaner will do. Just wipe it over the board thoroughly and we are ready to move on to the second step. That completes the first step.
If you want your edges to have more grip, you must do this step before waxing! All you need is an edge grinder, which you can easily order. 90 degrees are perfect. Then you have to put the grinding side (usually it has an arrow so you can see it) on the edge of the base. Grind a few times in one direction and your edges will be like new!
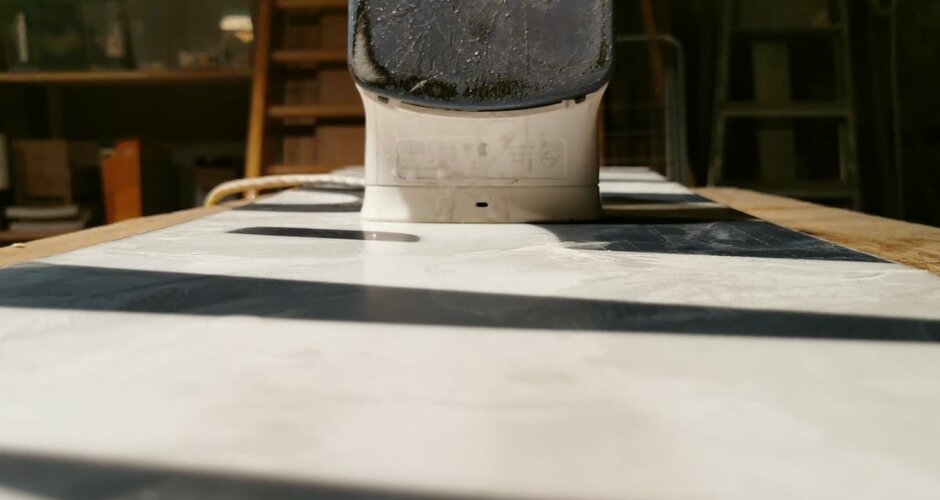
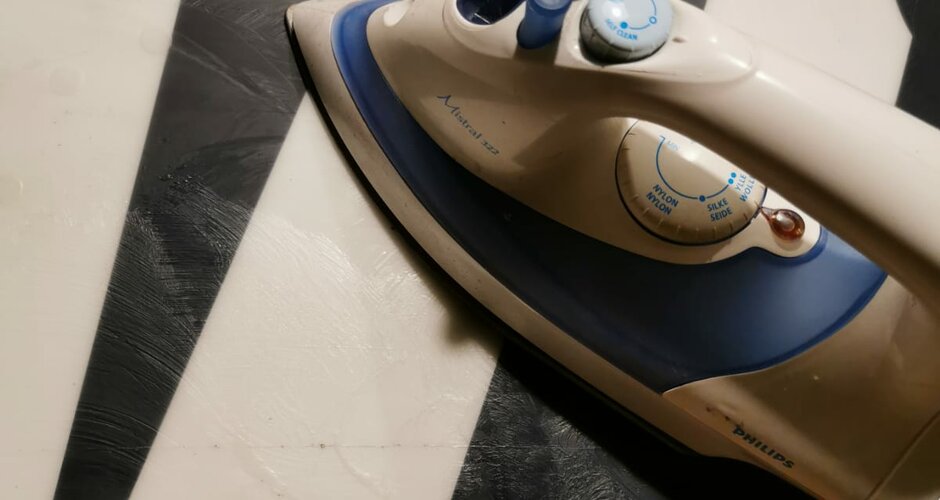
If you look closely at your board afterwards, you will notice that it has some scratches and in worst case some deep nicks. That's where the wax comes in, with which we repair these with. It's best to use an all-round snowboard wax. You can find this wax most reliably in sports and ski shops, and it should cost about 20 euros. In my case it smells like raspberries :) Then heat an iron until it can easily melt the wax so that it drips onto the board. Make sure you cover all the nicks and scratches. There should also be enough wax to rub wax all over the surface. Reduce the heat of the iron and start spreading the wax. When you are done, let it cool completely. Half an hour should be enough.
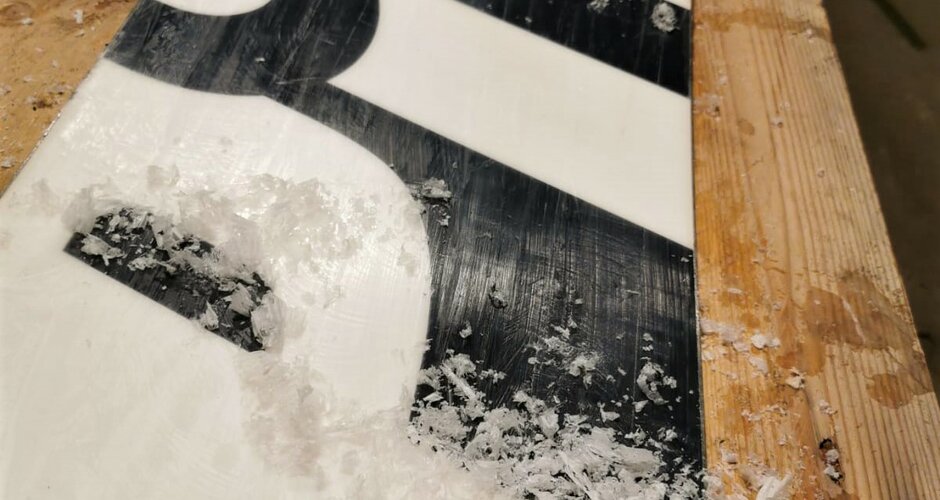
When it is cold enough, take an iron ruler, a spatula or something similar. The next step is to remove the excess wax. Pull the spatula over the wax so that it falls down in white flakes. Be careful not to make any large scratches! You can keep doing this until you can hardly scrape off anymore wax. It's not so bad if a bit of excess wax remains. It just makes your board more slippery and less likely to get stuck. Over time, the wax will wear off.
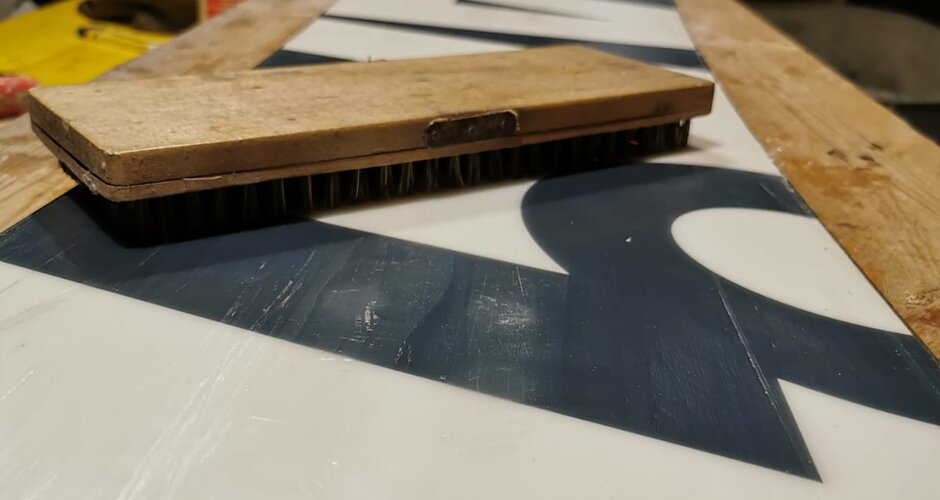
Now it's time to brush structure into the wax. Take a shoe brush or something similarly robust and brush your board in the opposite direction of travel. This will shape the board and make it ride faster and smoother in that direction. And now your snowboard is finished and ready to go.
